In this blog post, we will create a simple billing system using C# and Windows Forms. The application will allow users to enter the price and quantity of items, calculate the total amount, and display a summary of the bill.
Setting up the Windows Forms Application
To begin, let's create a new Windows Forms project in Visual Studio. Follow these steps:
Choose "Windows Forms App (.NET Framework)" as the project template.
// Provide a name for your project, such as "SimpleBillingSystem," and choose a suitable location for the project files.
Click "Create" to create the project.
Designing the User Interface
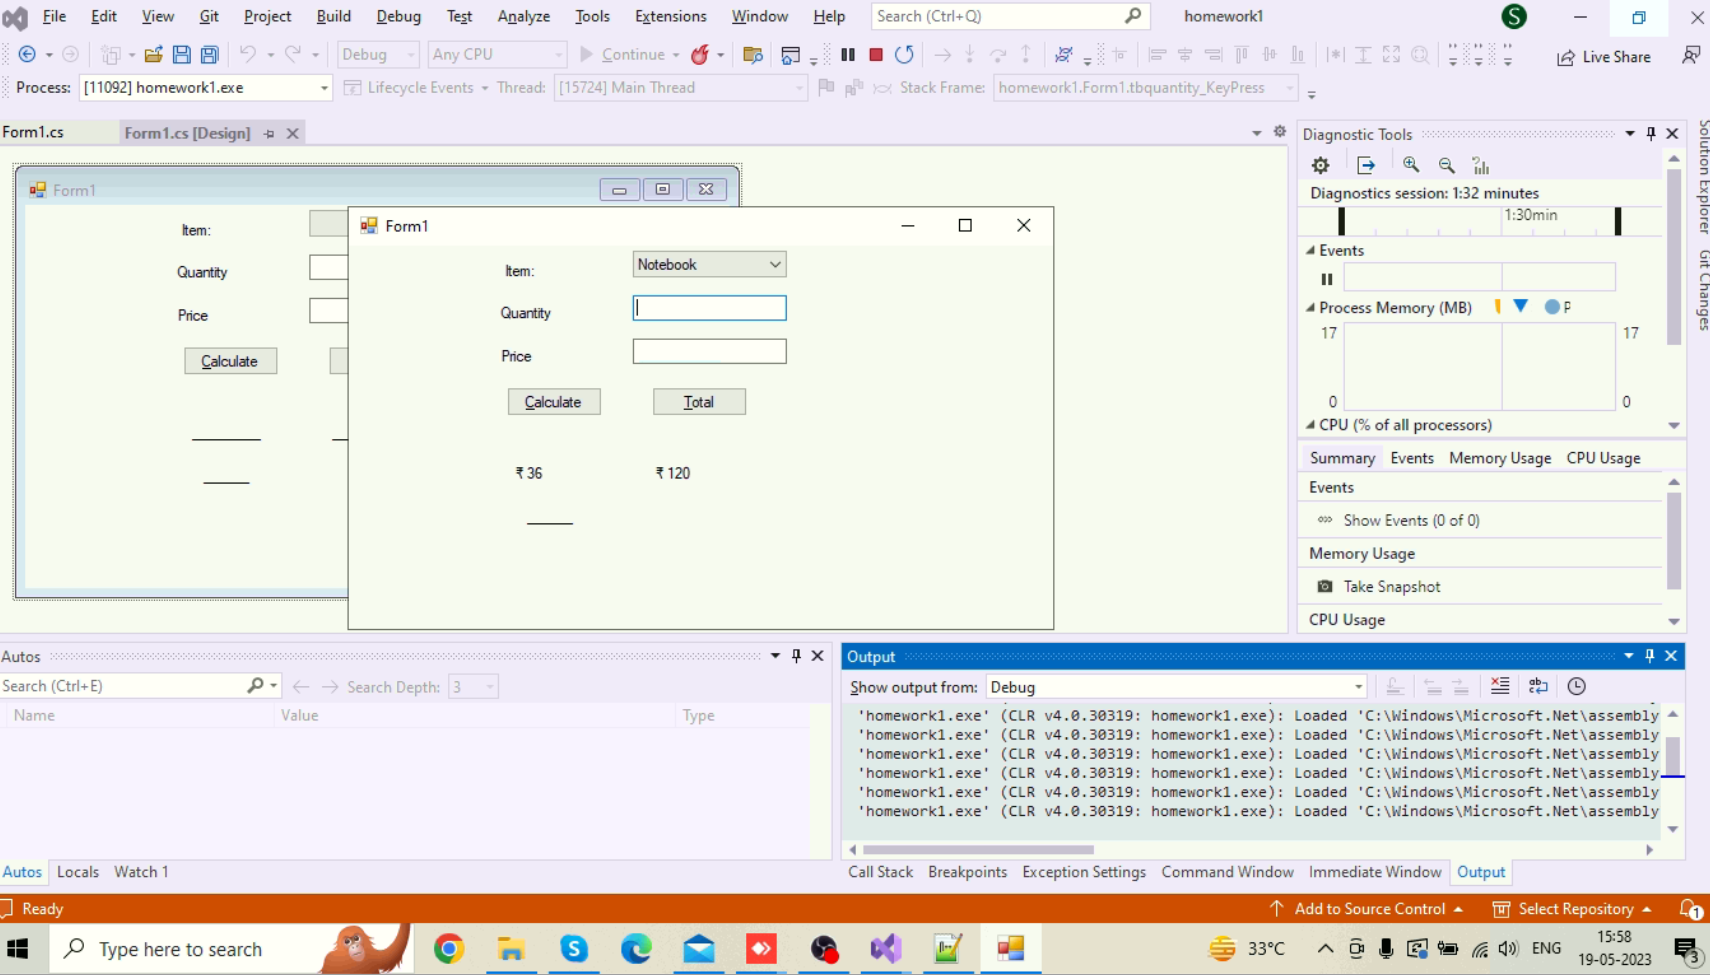
Once the project is created, we can start designing the user interface (UI) for our billing system. In the Solution Explorer, open the Form1.cs file. This file represents the main form of our application.
Designing the User Interface
Once the project is created, we can start designing the user interface (UI) for our billing system. In the Solution Explorer, open the Form1.cs file. This file represents the main form of our application.
Adding Controls
In the design view of the form, you will find the toolbox containing various controls that can be added to the form. Drag and drop the necessary controls onto the form:
- Two
Labelcontrols:lblPriceandlblQuantityto display labels for the price and quantity input fields. - Two
TextBoxcontrols:tbPriceandtbQuantityto allow users to enter the price and quantity of items. - One
Buttoncontrol:btnCalculateto trigger the calculation of the total amount. - Three additional
Labelcontrols:lblMessage,lblTotalPrice, andlblSummaryto display messages and the summary of the bill. - One final
Buttoncontrol:btnBillSummaryto display the total number of items purchased.
Arrange the controls on the form as desired.
Writing the Code
Now let's write the code to implement the functionality of the billing system. In the code-behind file Form1.cs, add the following code:
using System;
using System.Collections.Generic;
using System.ComponentModel;
using System.Data;
using System.Drawing;
using System.Linq;
using System.Text;
using System.Threading.Tasks;
using System.Windows.Forms;
using System.Windows.Forms.VisualStyles;

namespace WinForms
{
    public partial class Form1 : Form
    {
        public Form1()
        {
            InitializeComponent();
        }

        private void Form1_Load(object sender, EventArgs e)
        {

        }

        //Global Sum Variable
        int sum = 0;
        private void btncalculate_Click(object sender, EventArgs e)
        {
            int amount = Convert.ToInt32(tbprice.Text) * Convert.ToInt32(tbquantity.Text);
            sum = sum + amount;
            lblMessage.Text = "₹ " + amount; //current items amount
            lblTotalPrice.Text = "₹ " + sum;

            tbprice.Text = "";
            tbquantity.Text = "";

            tbquantity.Focus();
        }

        private void tbquantity_KeyPress(object sender, KeyPressEventArgs e)
        {
            if (e.KeyChar == '\r')
            {
                tbprice.Focus();
            }
        }

        private void tbprice_KeyPress(object sender, KeyPressEventArgs e)
        {
            if (e.KeyChar == '\r')
            {
                btncalculate.PerformClick();
            }
        }

        private void btnBillSummary_Click(object sender, EventArgs e)
        {
            lblSummary.Text = "Total number of items purchased: ";
        }
    }
}
The code above defines event handlers for the "Calculate" button click event, quantity textbox key press event, price textbox key press event, and "Bill Summary" button click event.
Build and run the application to test the functionality of the billing system. Enter the price and quantity of items, click the "Calculate" button to see the current item amount and total price, and click the "Bill Summary" button to see the total number of items purchased.
Conclusion
In this blog post, we learned how to build a simple billing system using C# and Windows Forms. We designed the user interface with labels, textboxes, and buttons, and implemented the functionality to calculate the total amount and display the bill summary. This project provides a foundation for further enhancements and customization based on specific requirements. Feel free to experiment and add additional features to make the billing system more robust and user-friendly.